

1. DIY Desk Organizer

Keep your workspace clutter-free with a custom desk organizer.
Materials Needed:
Wooden box or old cardboard box
Wrapping paper or self-adhesive wallpaper
Scissors
Glue or double-sided tape
Steps:
Measure the dimensions of the box.
Cut the wrapping paper or wallpaper to fit the surfaces of the box.
Use glue or tape to secure the paper onto the box, ensuring there are no air bubbles.
Add dividers inside the box using pieces of cardboard wrapped in the same paper.
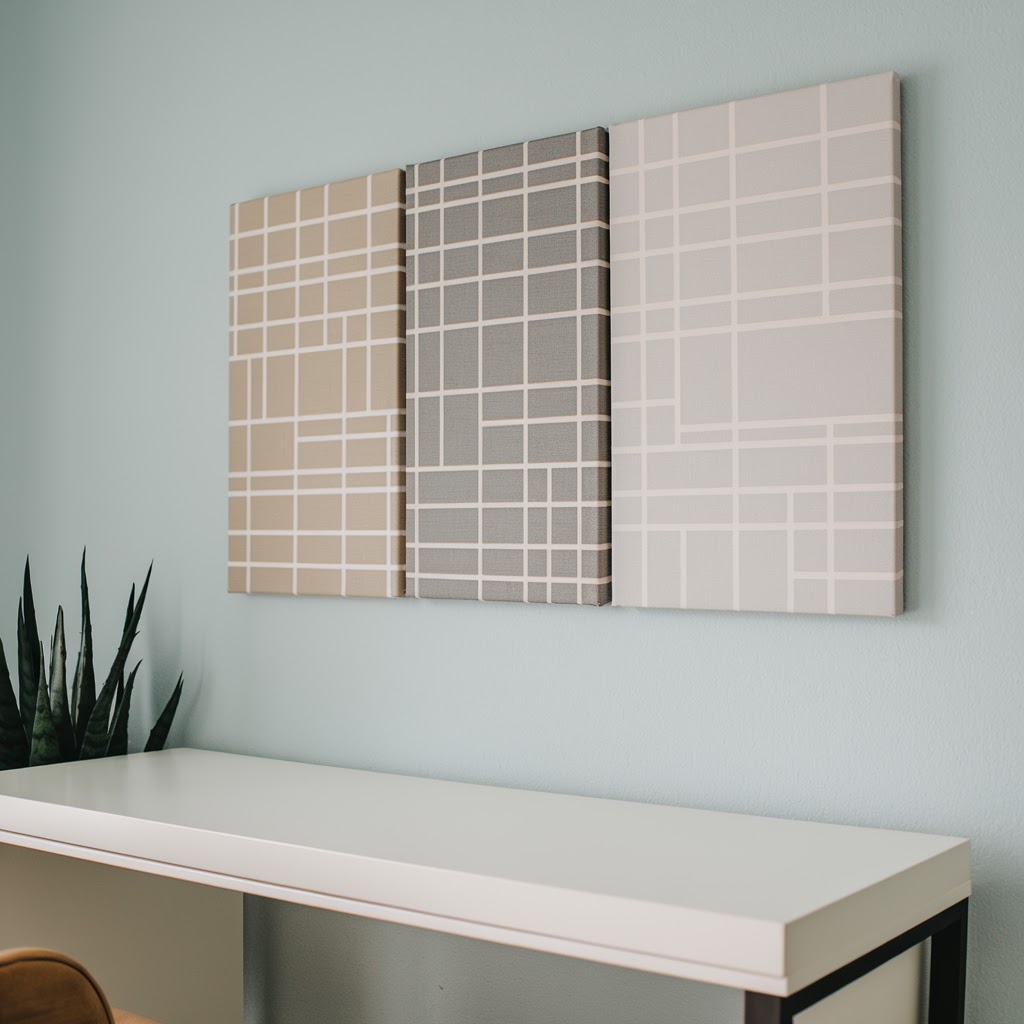
2. Minimalist Wall Art Add a touch of personality to your office walls with easy DIY art pieces.
Materials Needed:
Canvas or thick poster board
Acrylic paints
Painter’s tape
Paintbrushes or sponges
Steps:
Tape off geometric shapes or patterns on the canvas.
Paint over the taped sections in your chosen colors.
Once the paint dries, carefully remove the tape to reveal crisp lines.
Frame the artwork or hang it as-is for a minimalist vibe.
3. Customized Office Chair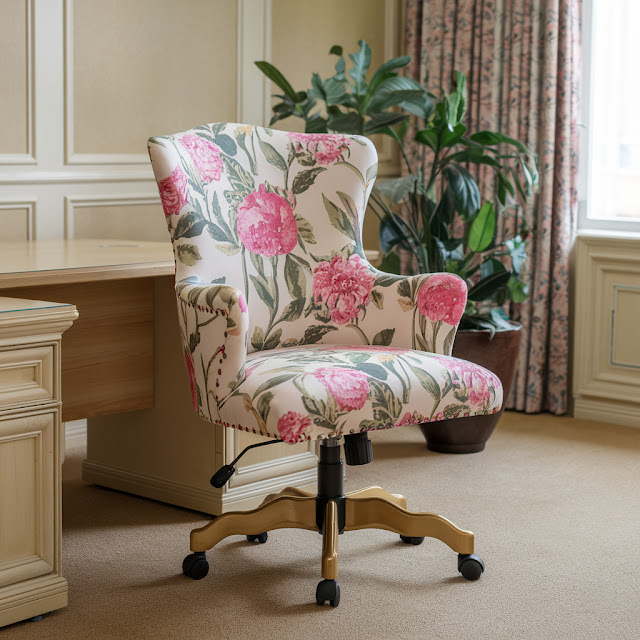 Revamp a plain office chair for a stylish upgrade.

Materials Needed:
Fabric of your choice
Staple gun
Screwdriver
Foam padding (optional)
Steps:
Remove the seat and backrest from the chair using a screwdriver.
Wrap the foam padding (if adding) and fabric tightly around each piece.
Staple the fabric to the underside of the seat and backrest.
Reattach the seat and backrest to the chair frame.
4. DIY Magnetic Board Keep track of notes, reminders, and inspiration with a chic magnetic board.

Materials Needed:
Baking sheet or sheet of metal
Spray paint
Magnets
Decorative paper
Steps:
Spray paint the baking sheet in your desired colour and let it dry.
Cover the inside surface with decorative paper for a stylish background.
Use magnets to pin notes, photos, or to-do lists to the board.
Hang it on the wall or prop it on your desk.
5. Upcycled Mason Jar Pen Holders Turn ordinary mason jars into chic pen holders.

Materials Needed:
Mason jars
Spray paint or chalk paint
Decorative ribbons or lace
Glue
Steps:
Clean the jars thoroughly and let them dry.
Paint the jars with your chosen paint colour and let them dry completely.
Add decorative ribbons or lace around the rim using glue.
Use them to store pens, brushes, or other office supplies.
Final Touches
These DIY projects will give your office a chic and personal touch. By incorporating these ideas, you can create a workspace that’s both functional and beautiful. Share your DIY transformations in the comments or tag us in your photos!
No comments:
Post a Comment